
Pot-Dripper Instructions
Use these simple instructions to install a Pot-Dripper for the most efficient container irrigation available.
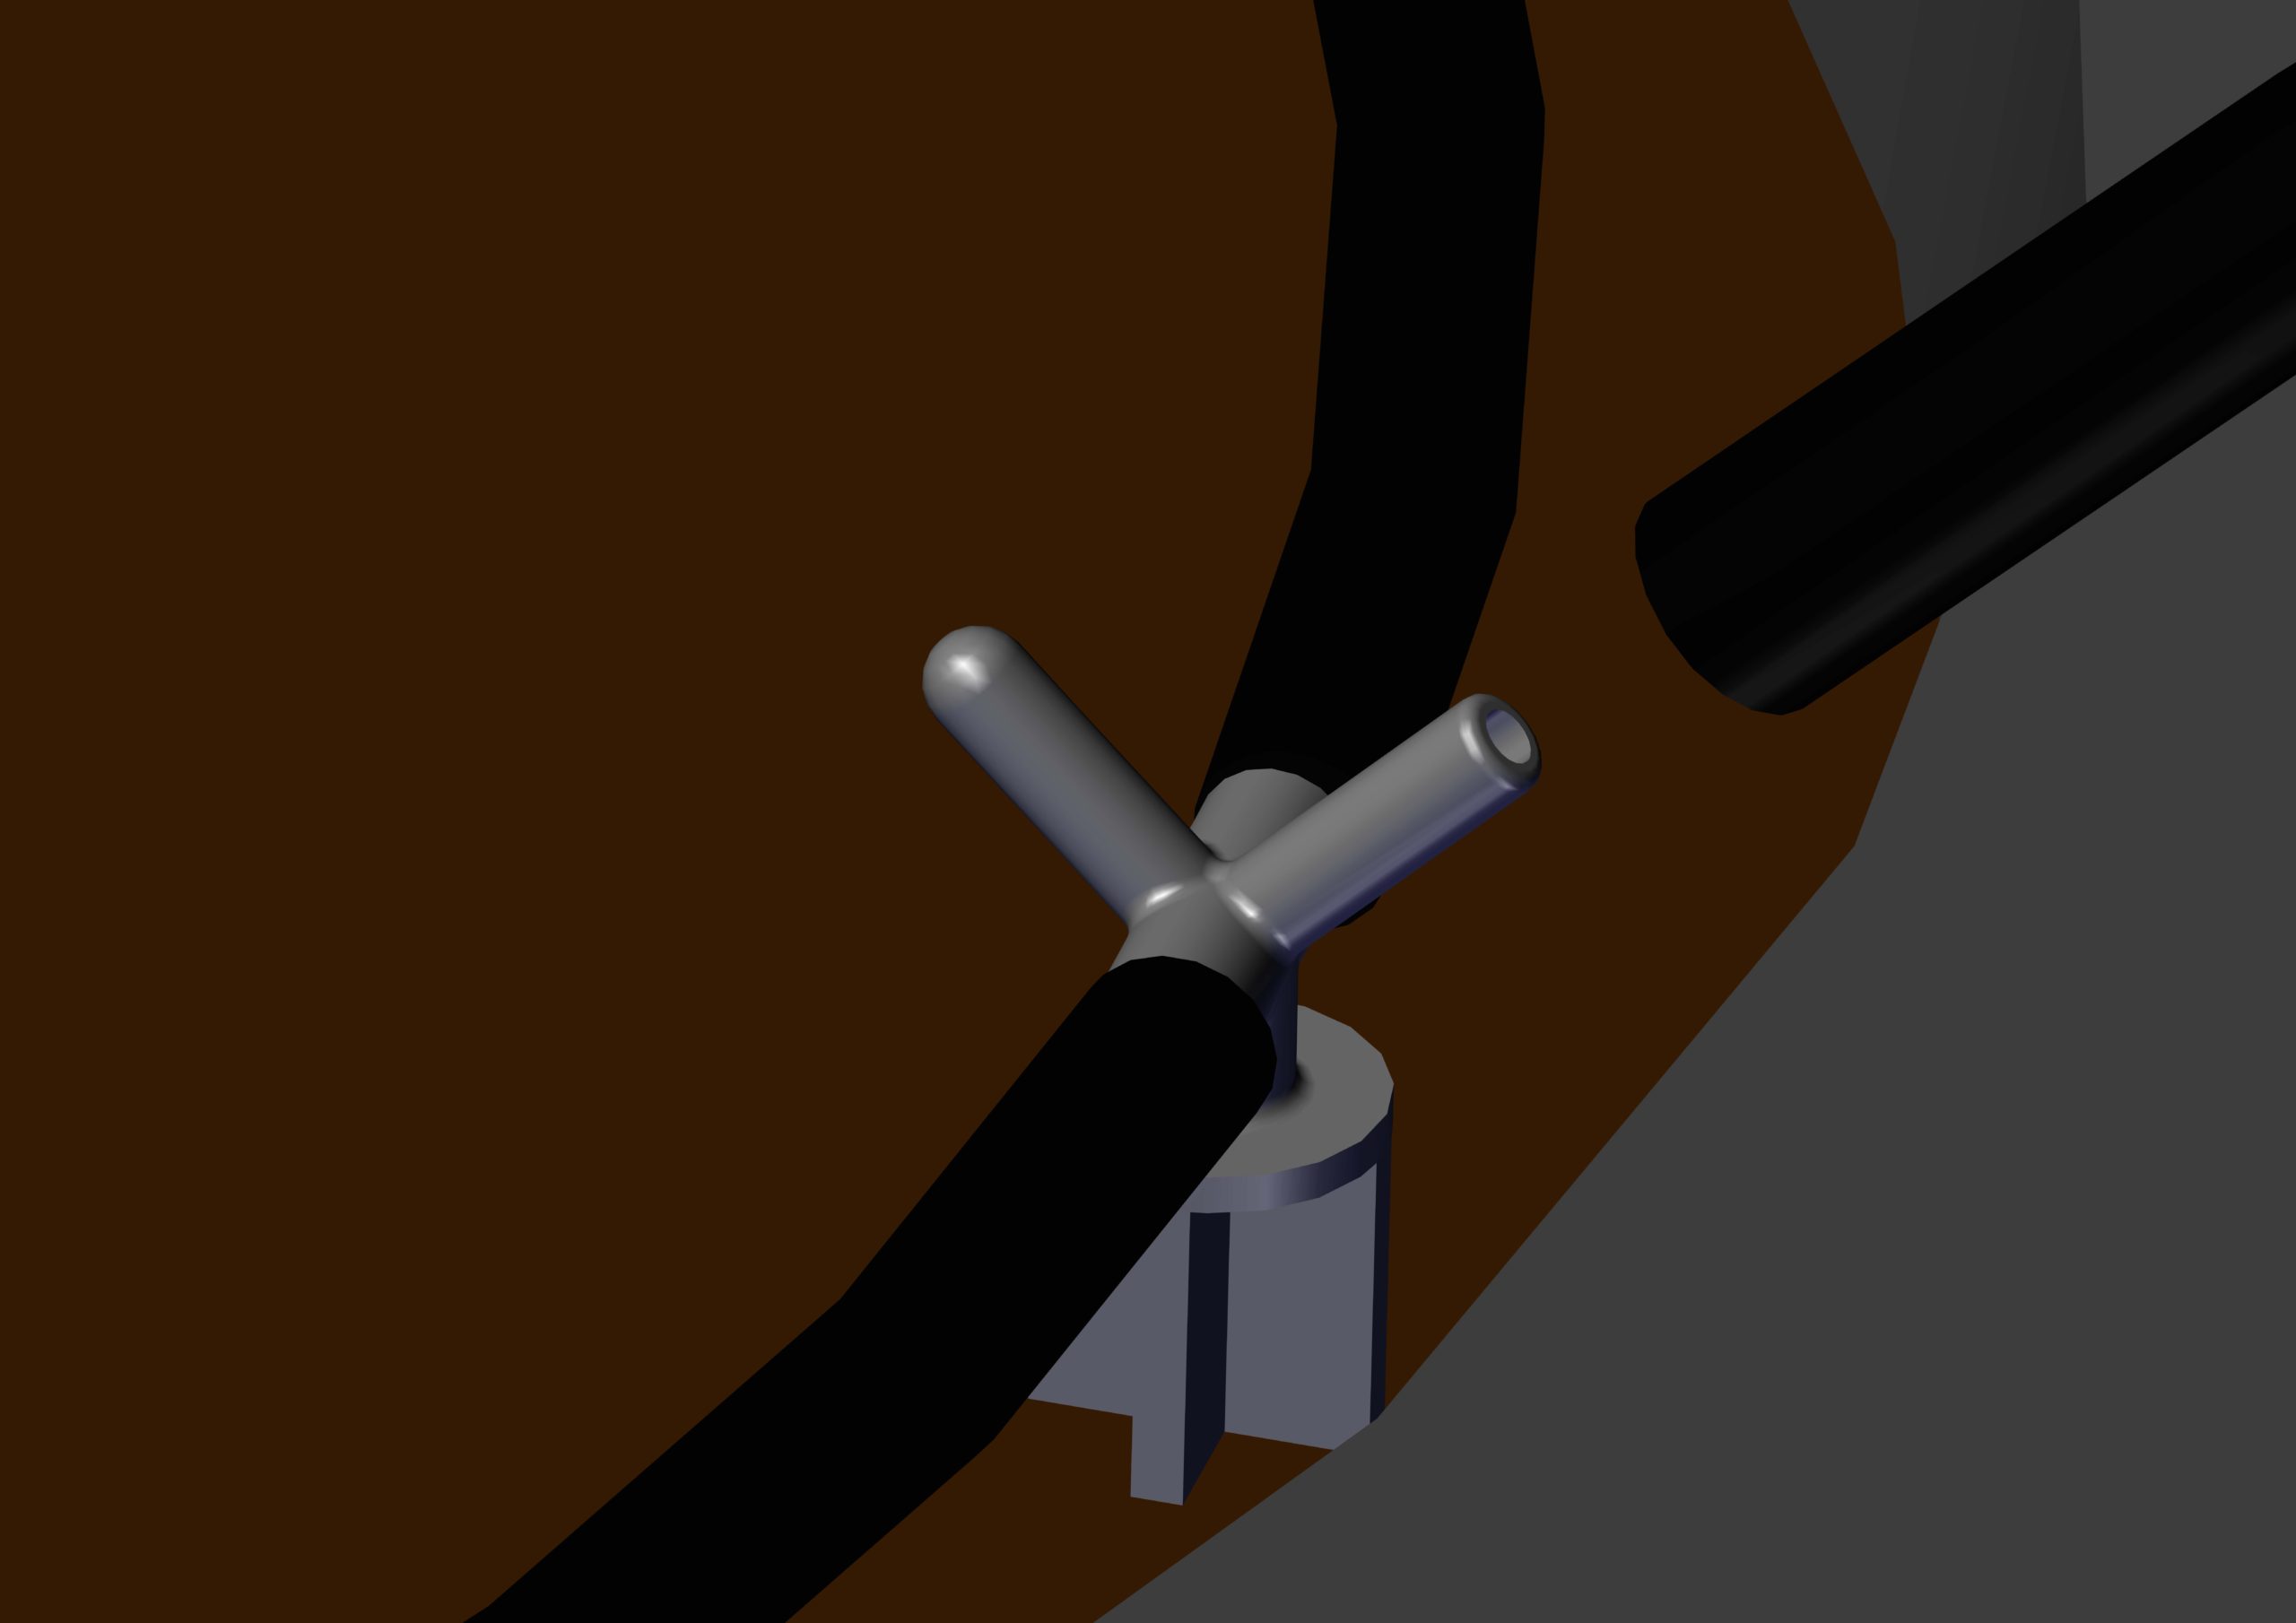
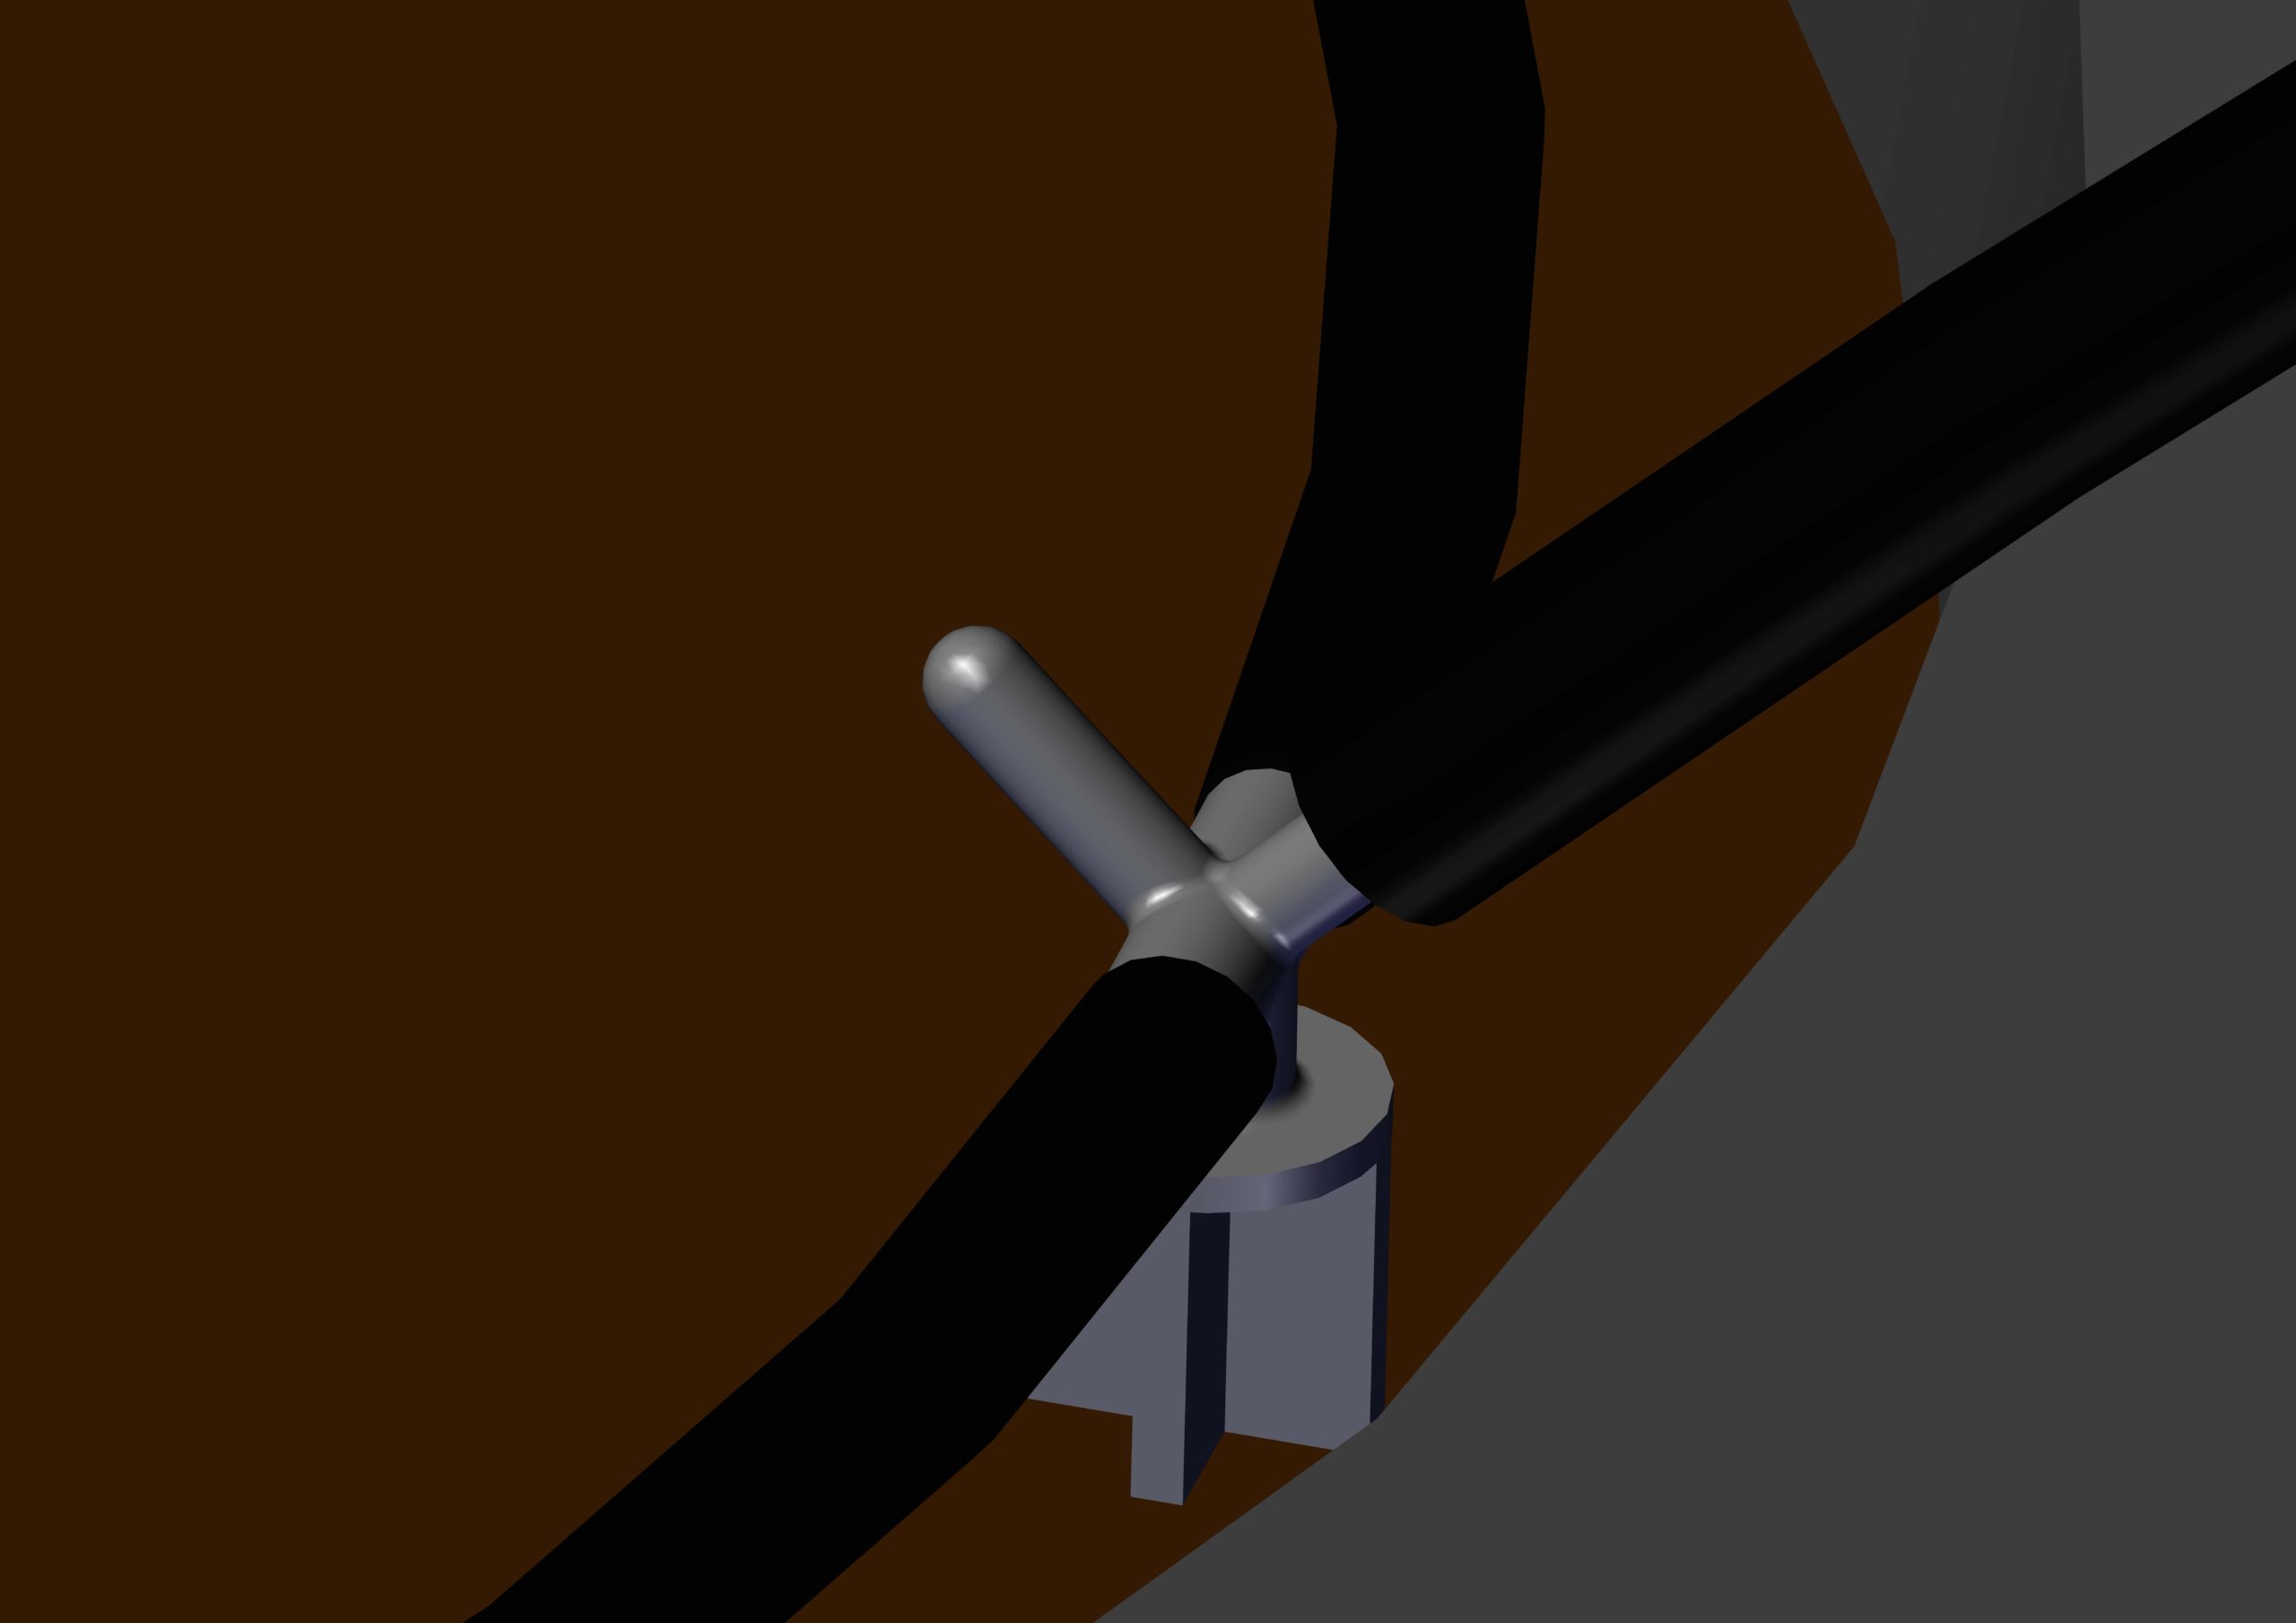
1, Remove the Pot-Dripper from the box and rotate the stake so it is at a 90° angle to the ring. Be sure to rotate it in a direction such that the 1/8″ feeder connection is pointing radially out of the ring and the solid shut-off barb points toward the center of the ring.
2. Insert the pot dripper in the container to be irrigated. If a plant is already in the container, disconnect one end of the tubing from the stake to get it around the plant, then reconnect it.
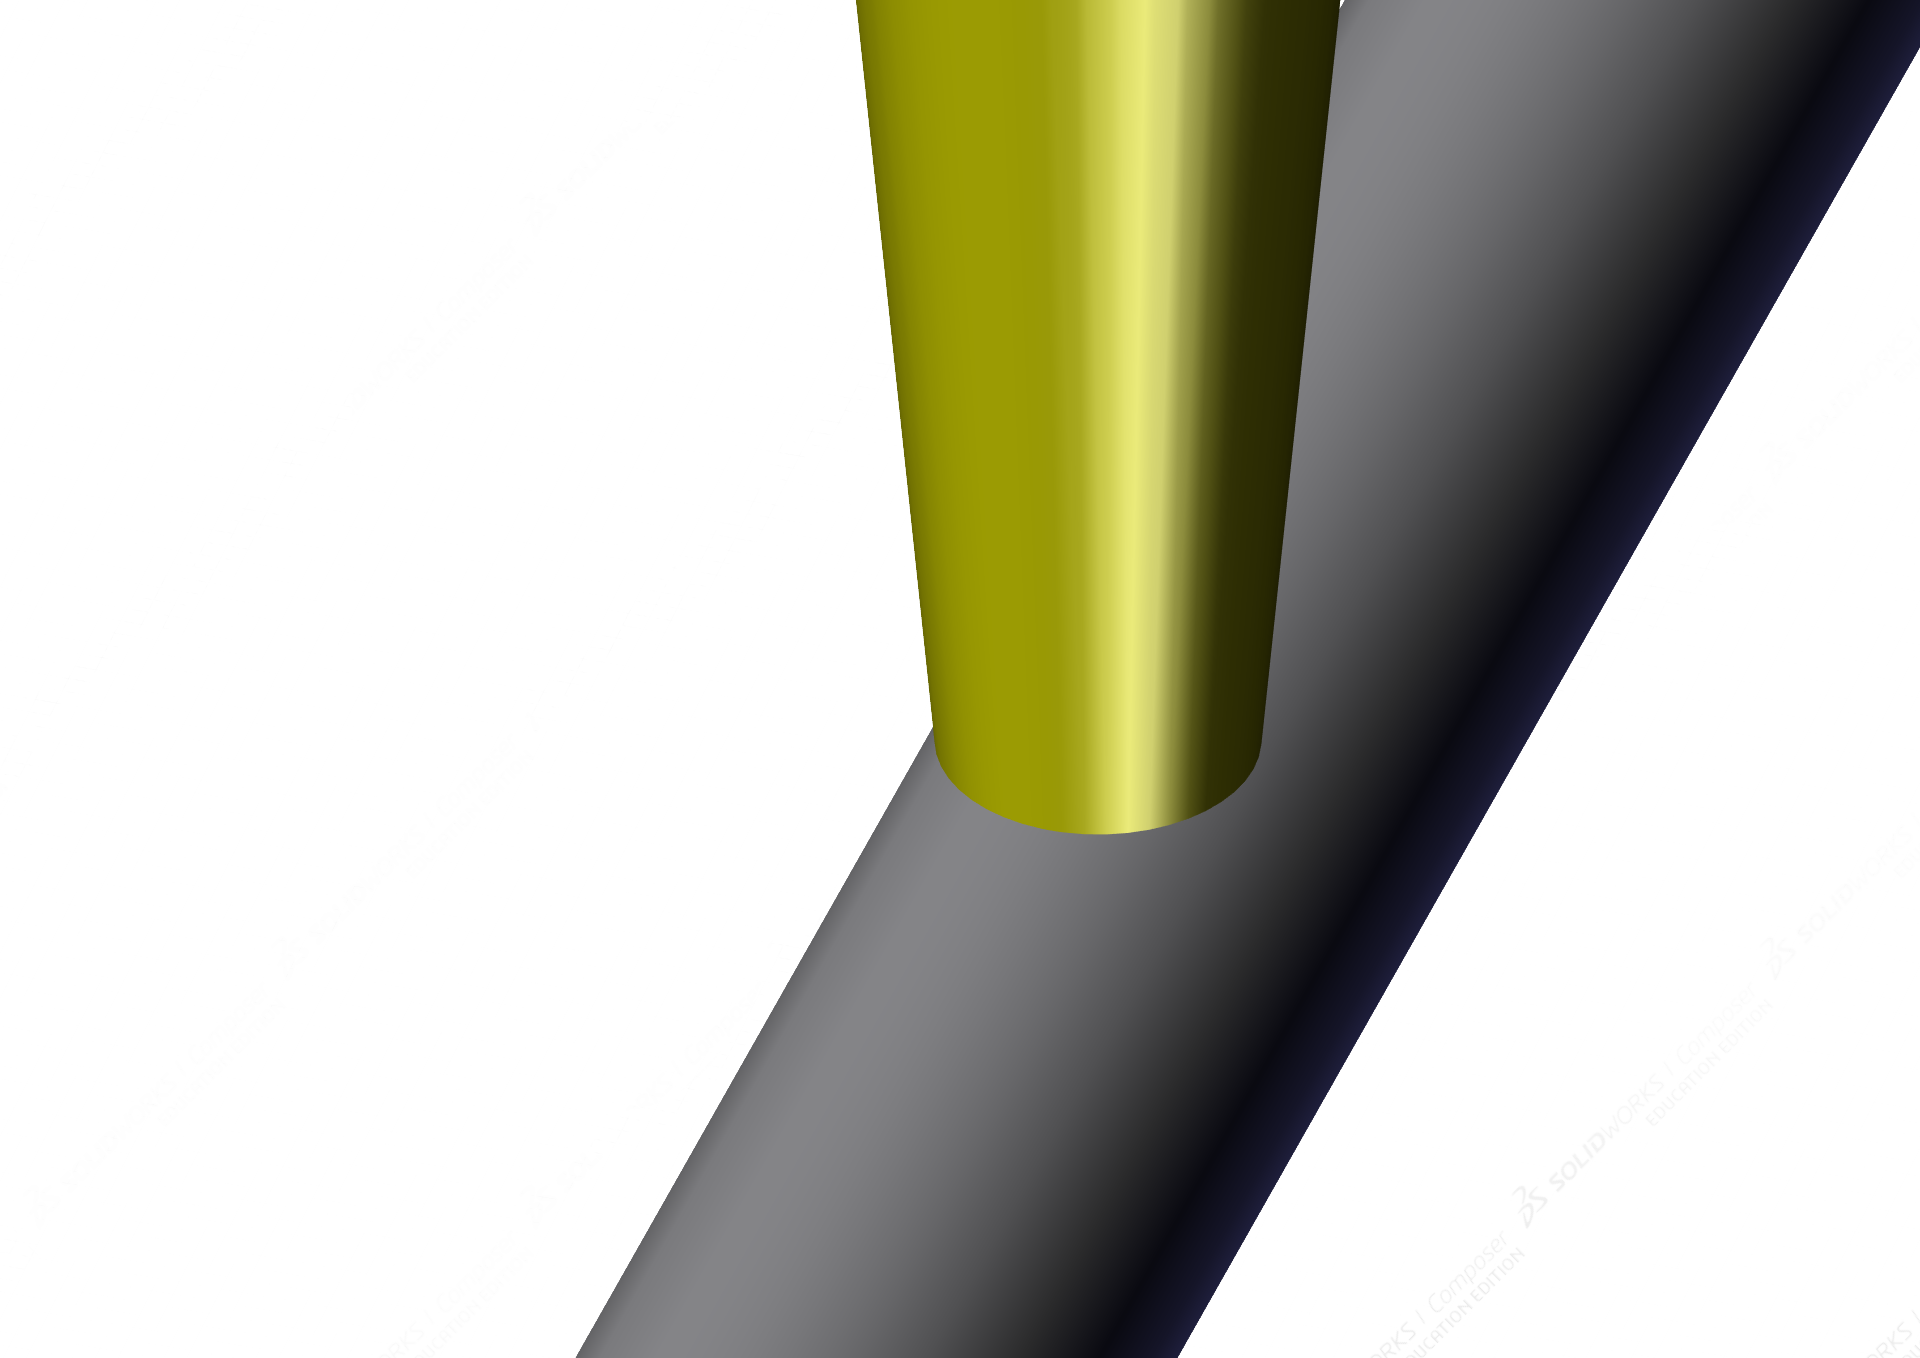
3. Cut an appropriate length of Primerus 1/8″ Spaghetti tubing at 90º and insert it firmly on the 1/8″ supply barb.
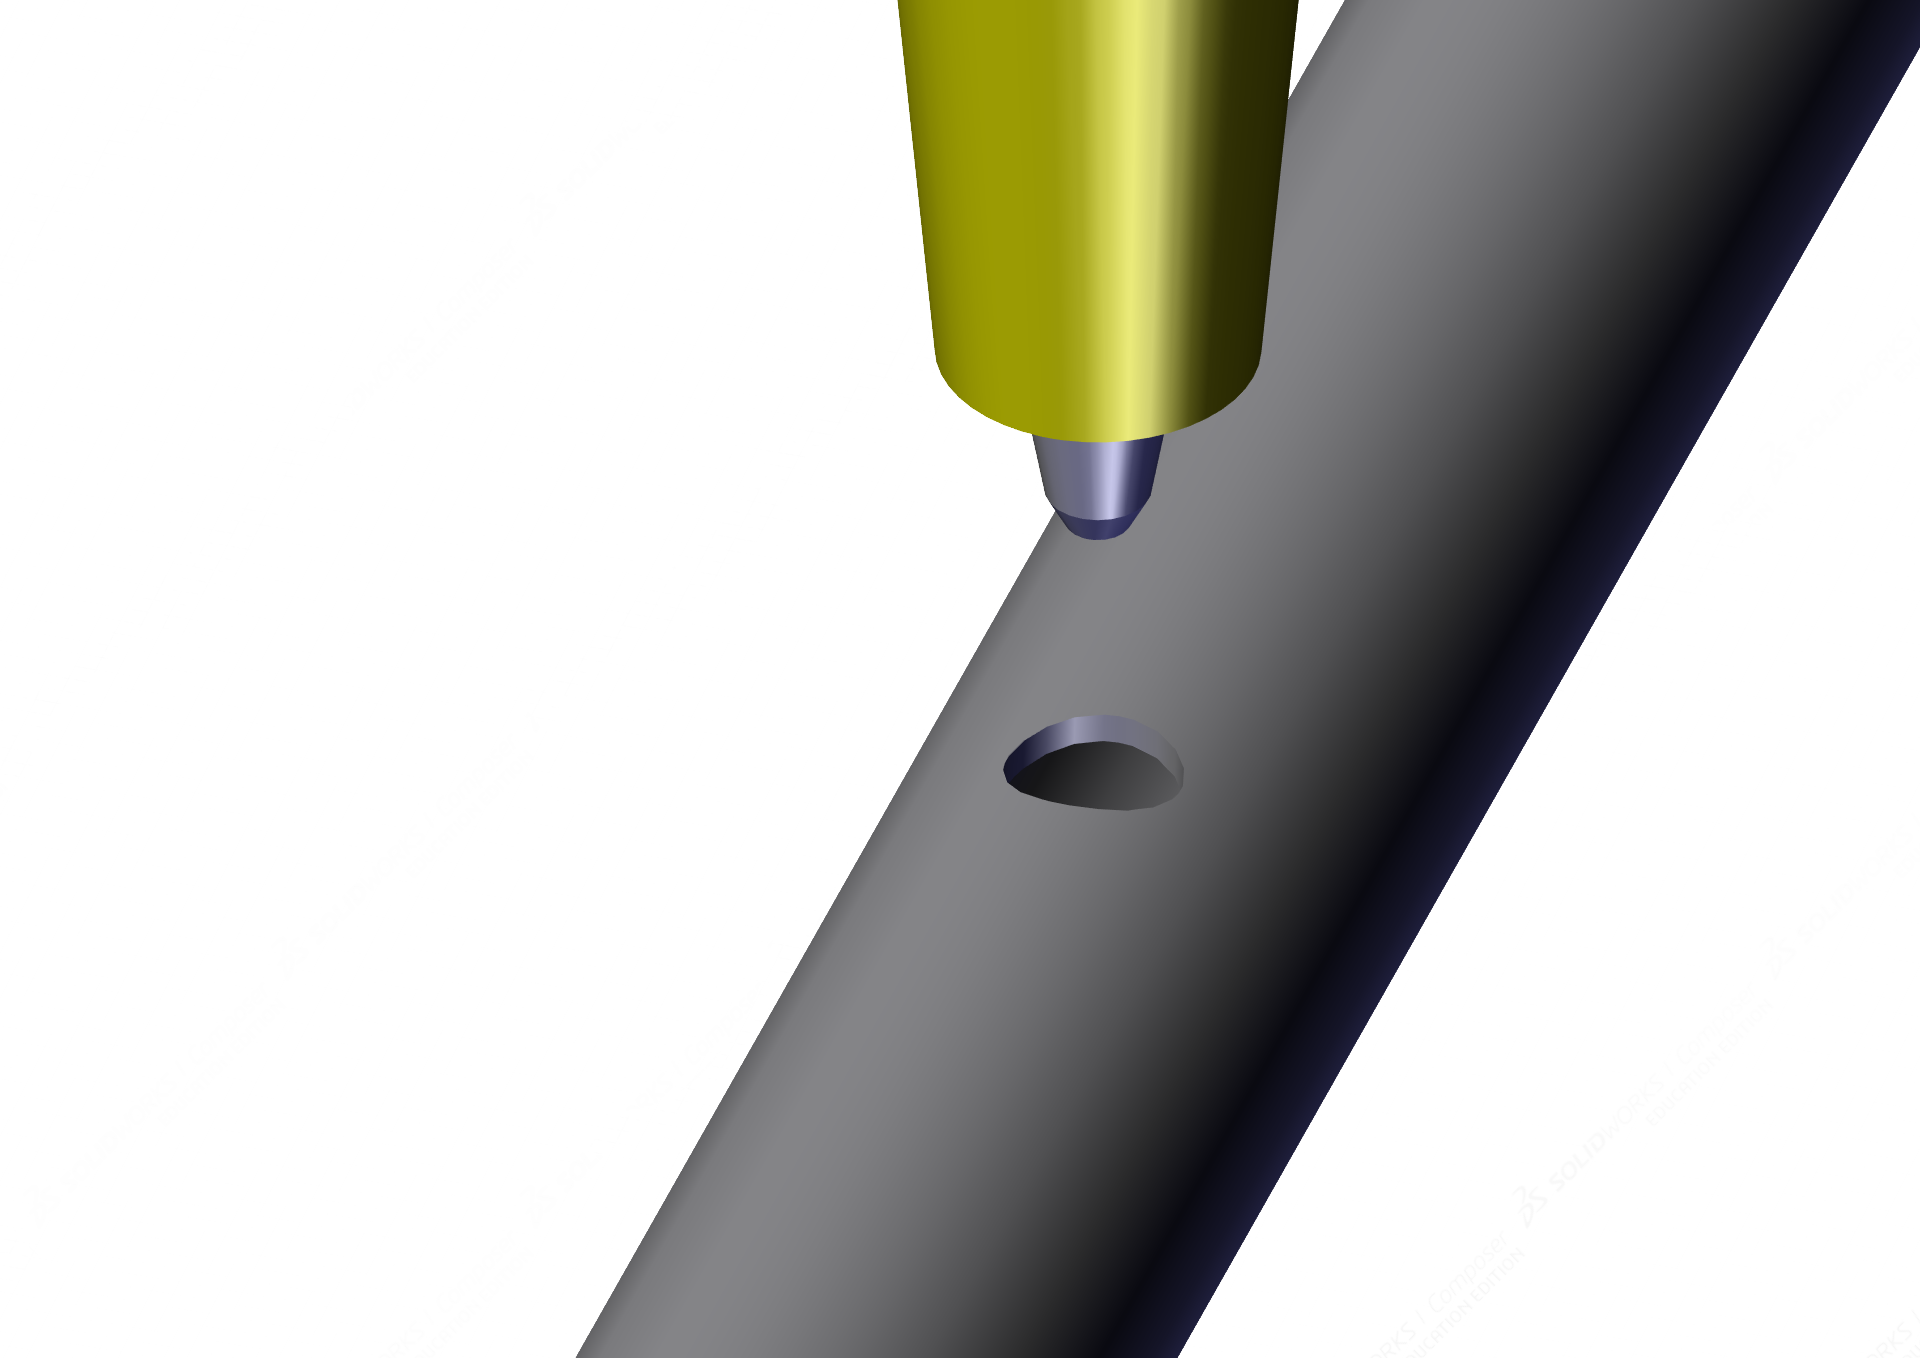
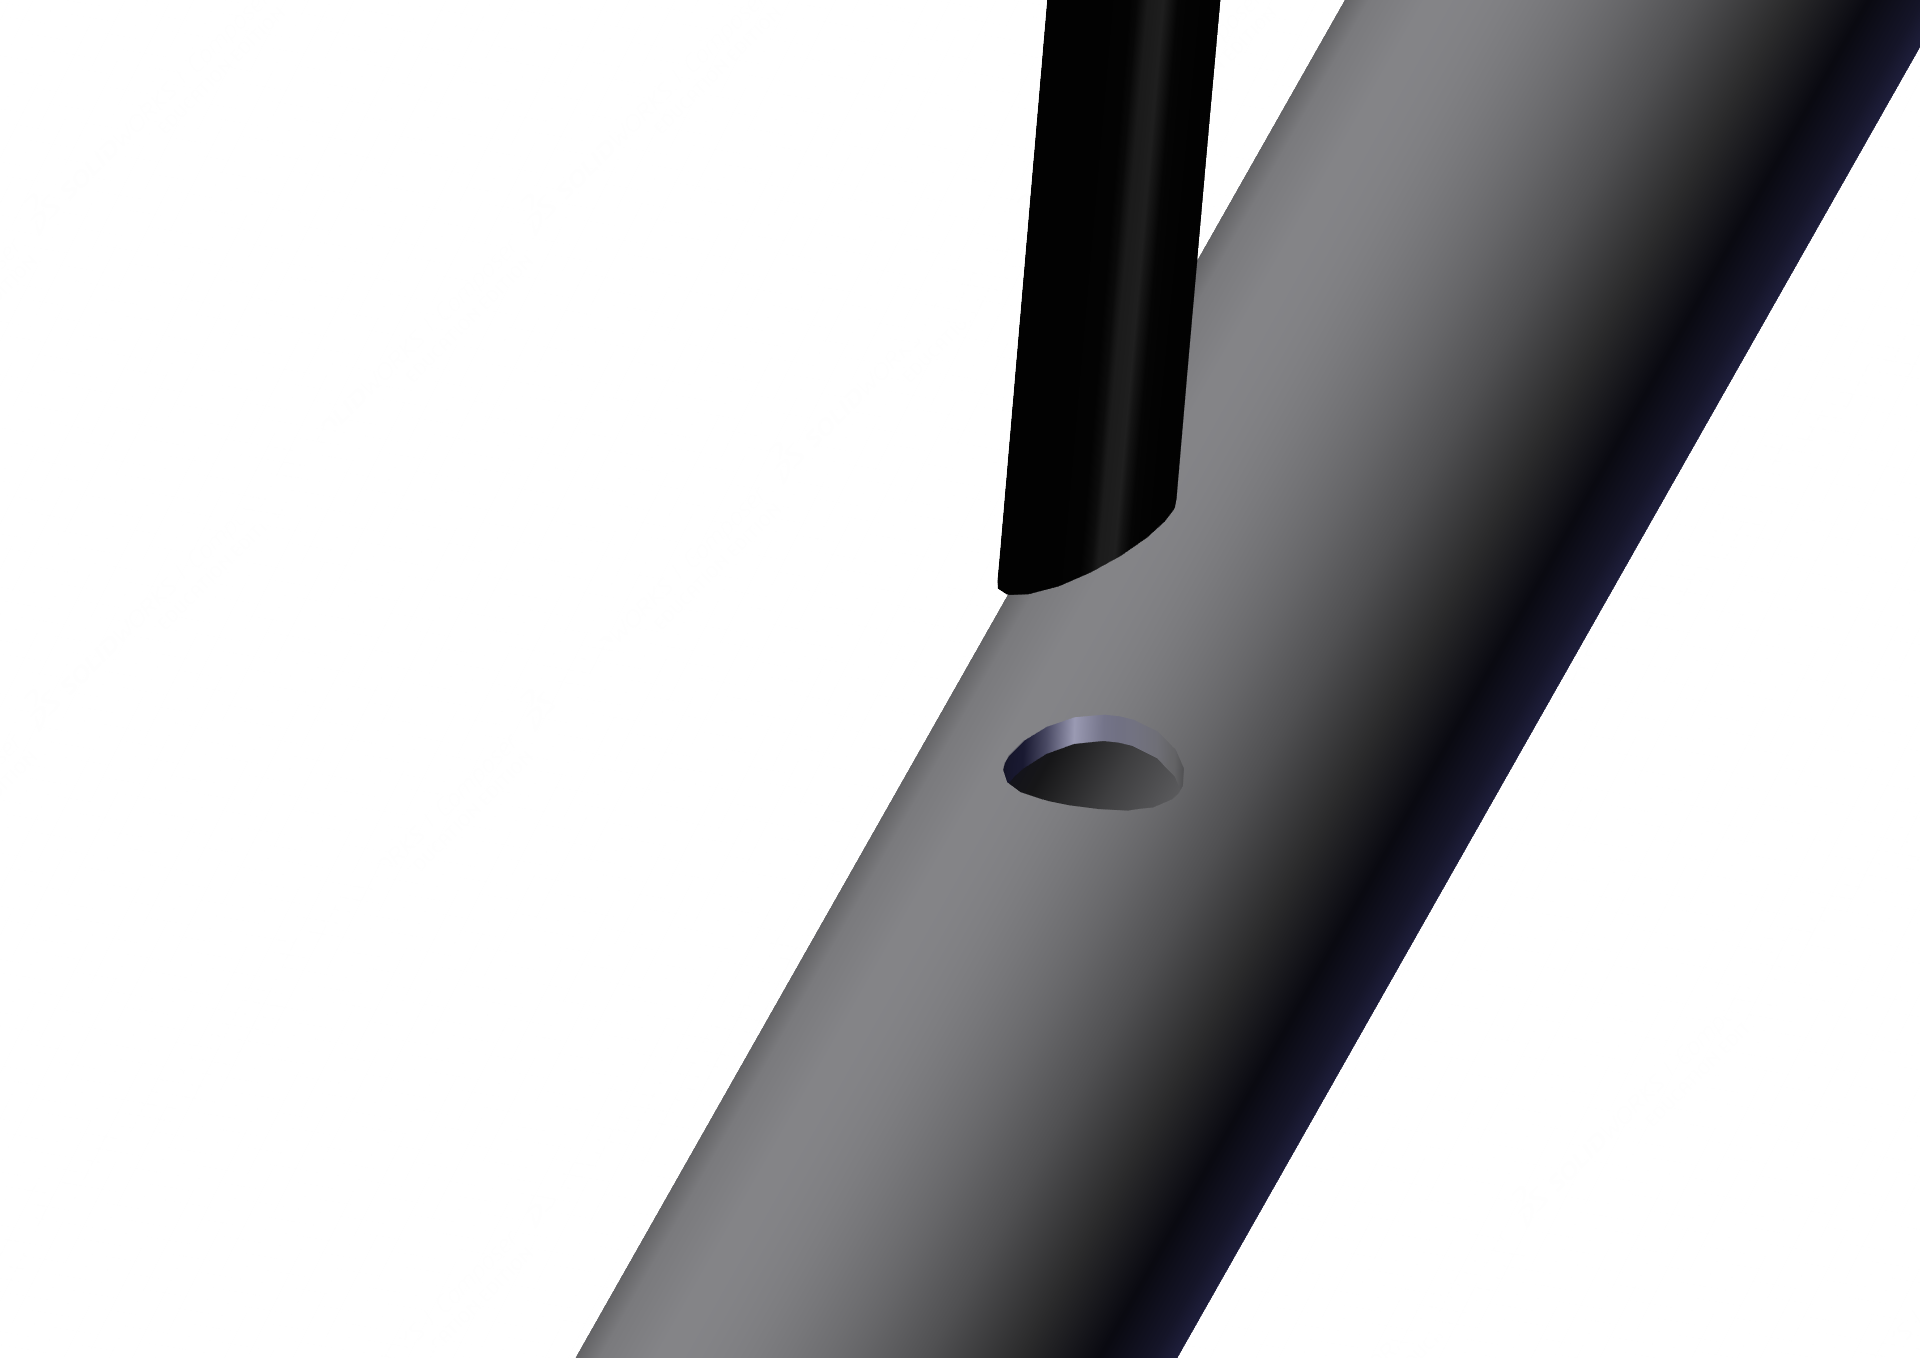
4. Use a Primerus 1/8″ Hole Punch to create a hole in your 1/2″, 3/4″ or 1″ polyethylene supply lateral.
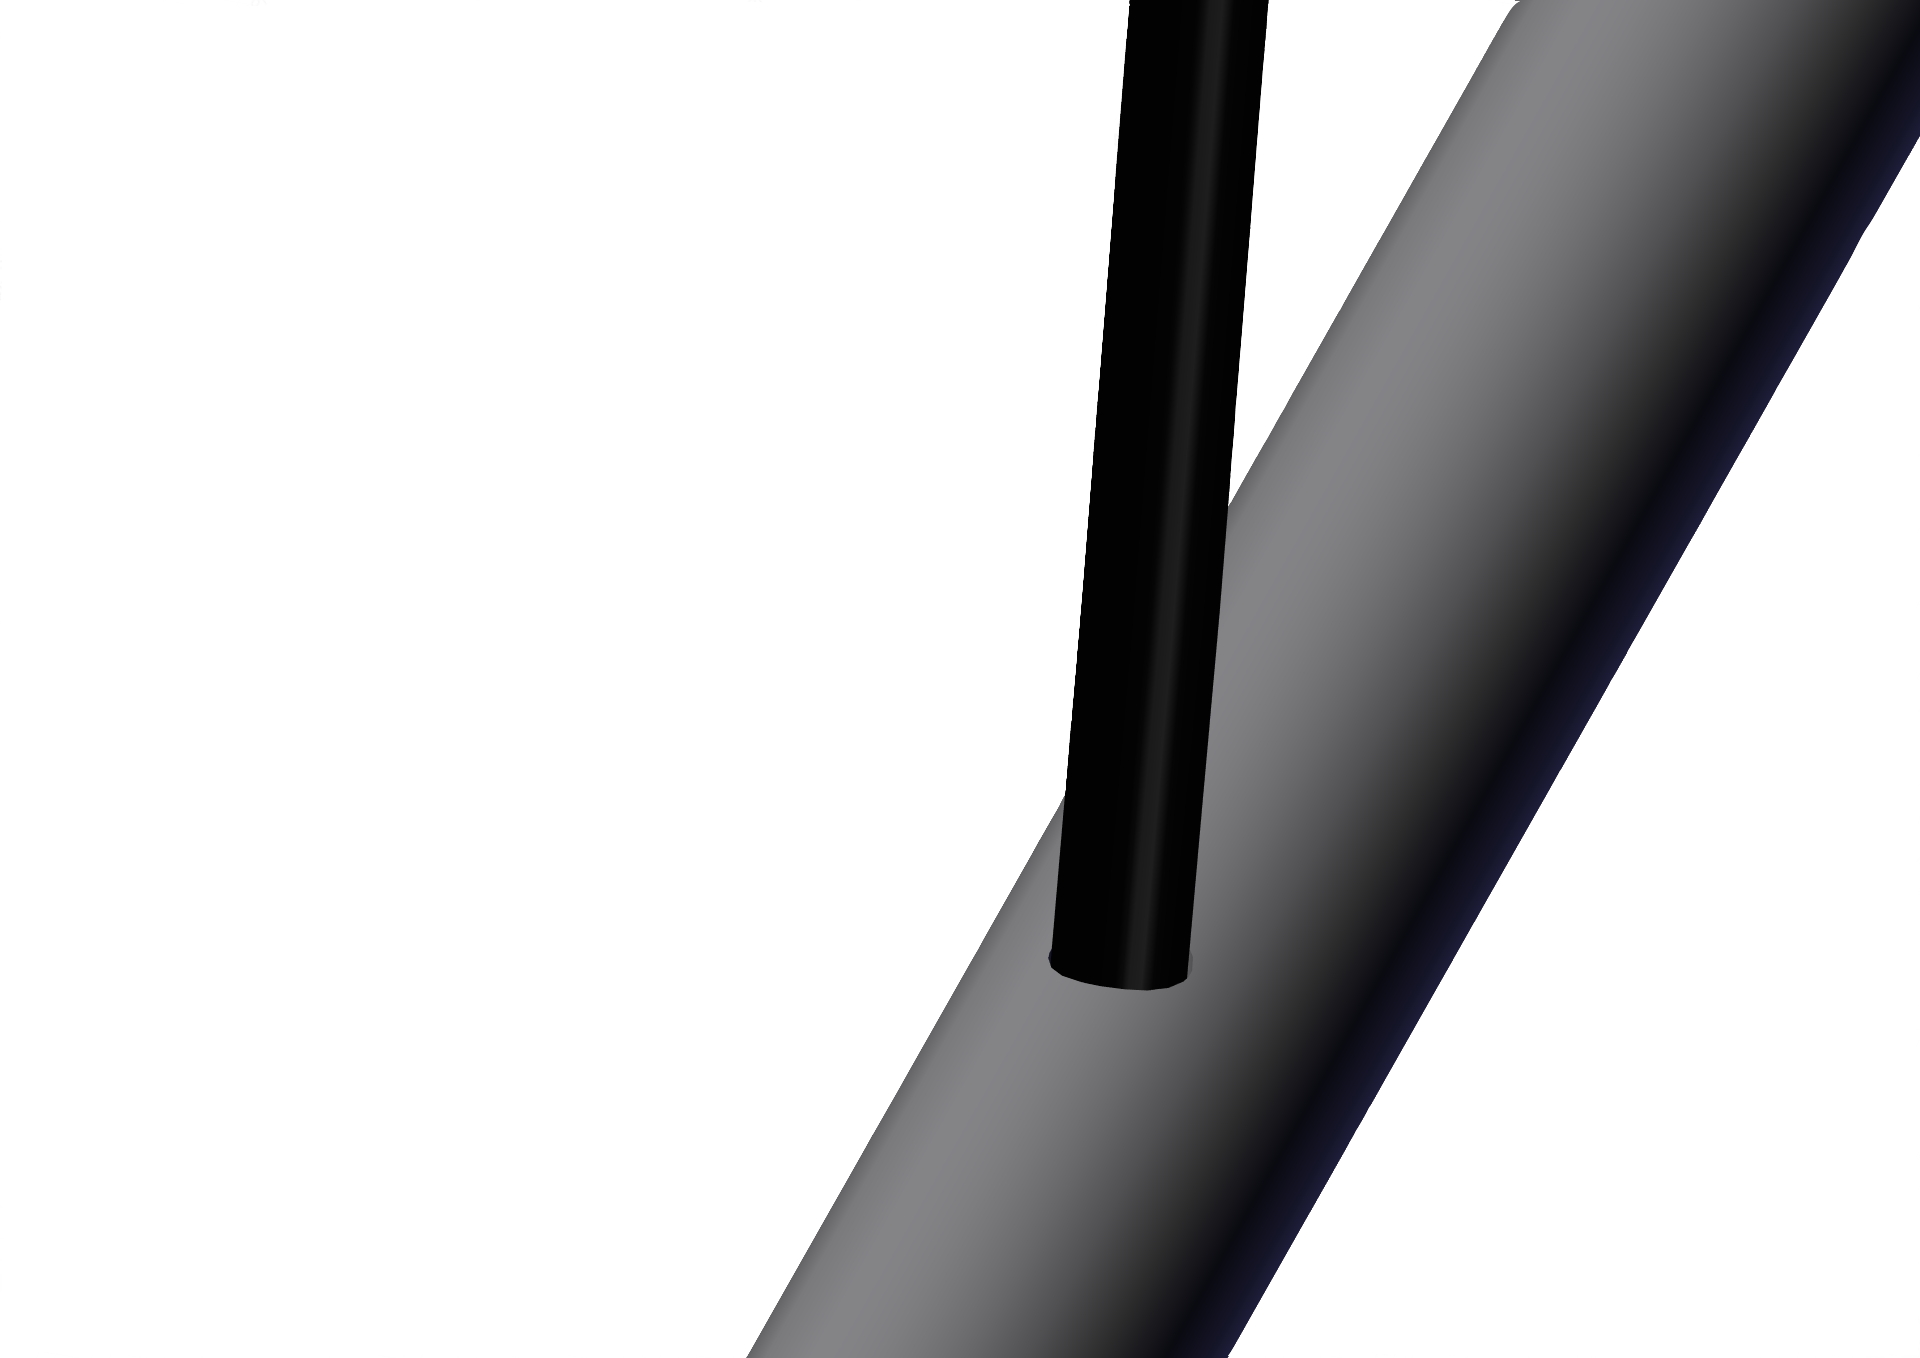
5. Cut the other end of the length of Spaghetti tubing at 45º and insert it into the hole for a water-tight seal. Alternatively, if you choose to use a Hub Dripper, cut the tubing at 90º then insert it on the 1/8″ output barb of the Hub Dripper and insert the 1/4″ input barb of the of the dripper into the hole. Use this chart to select the right hub dripper.
6. You are ready to irrigate. Pressurize your lateral to 15 psi if you are not using a Hub Dripper (non-compensating configuration) or anywhere between 10 and 50 psi if you are using Hub Dripper (pressure compensating).
